
Set up the form
Your sign-up form lives under Settings → Onboarding form. Two settings shape it:- Enable form turns the public form on.
- Form type picks a short form or a longer one that adapts to the answers.
You can also edit the form’s title and description, and the confirmation message students see after they submit.
Share a sign-up link
1
Copy the link
On the Students page, open the Add student menu and choose Shareable link. Harness copies the sign-up link to your clipboard.
2
Send it to the student or family
Paste the link into an email, text, or message. Anyone with the link can open your sign-up form.
3
They fill out the form
The student or parent completes the enrollment form themselves: their details and contacts. When they submit, it lands in your Pending tab for review.
Approve or reject a submission
1
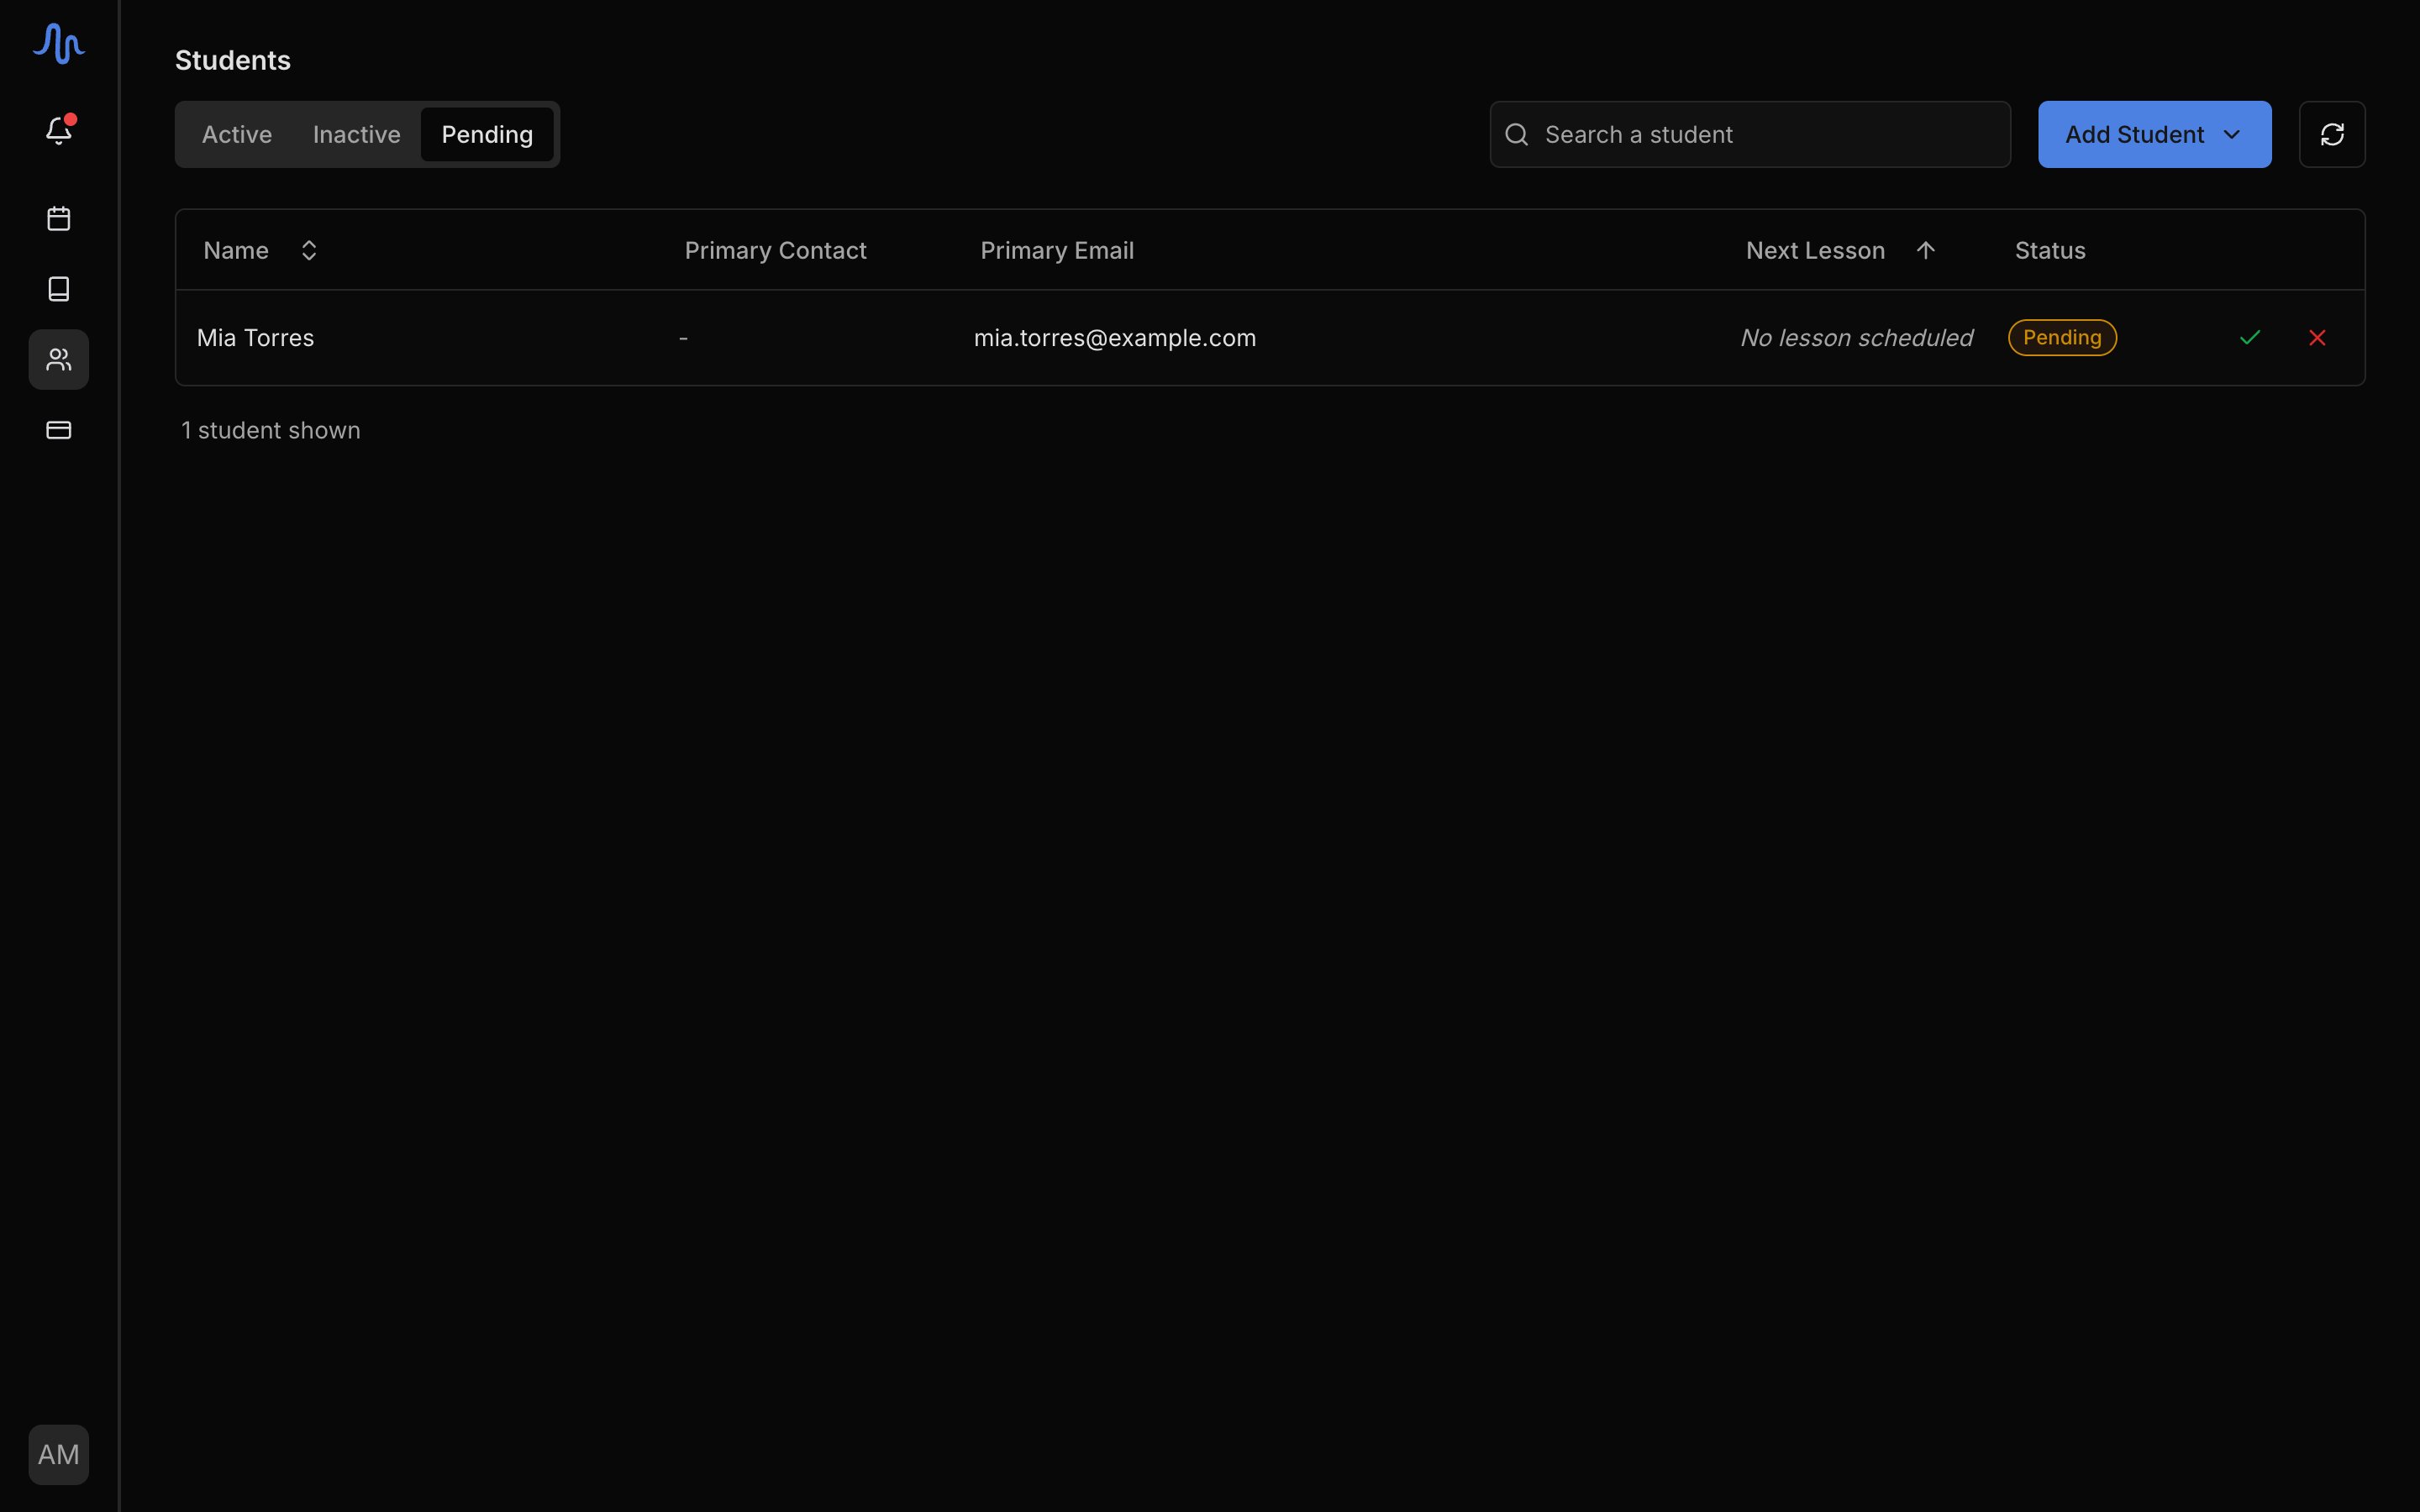
Open the Pending tab
On the Students page, open the Pending tab.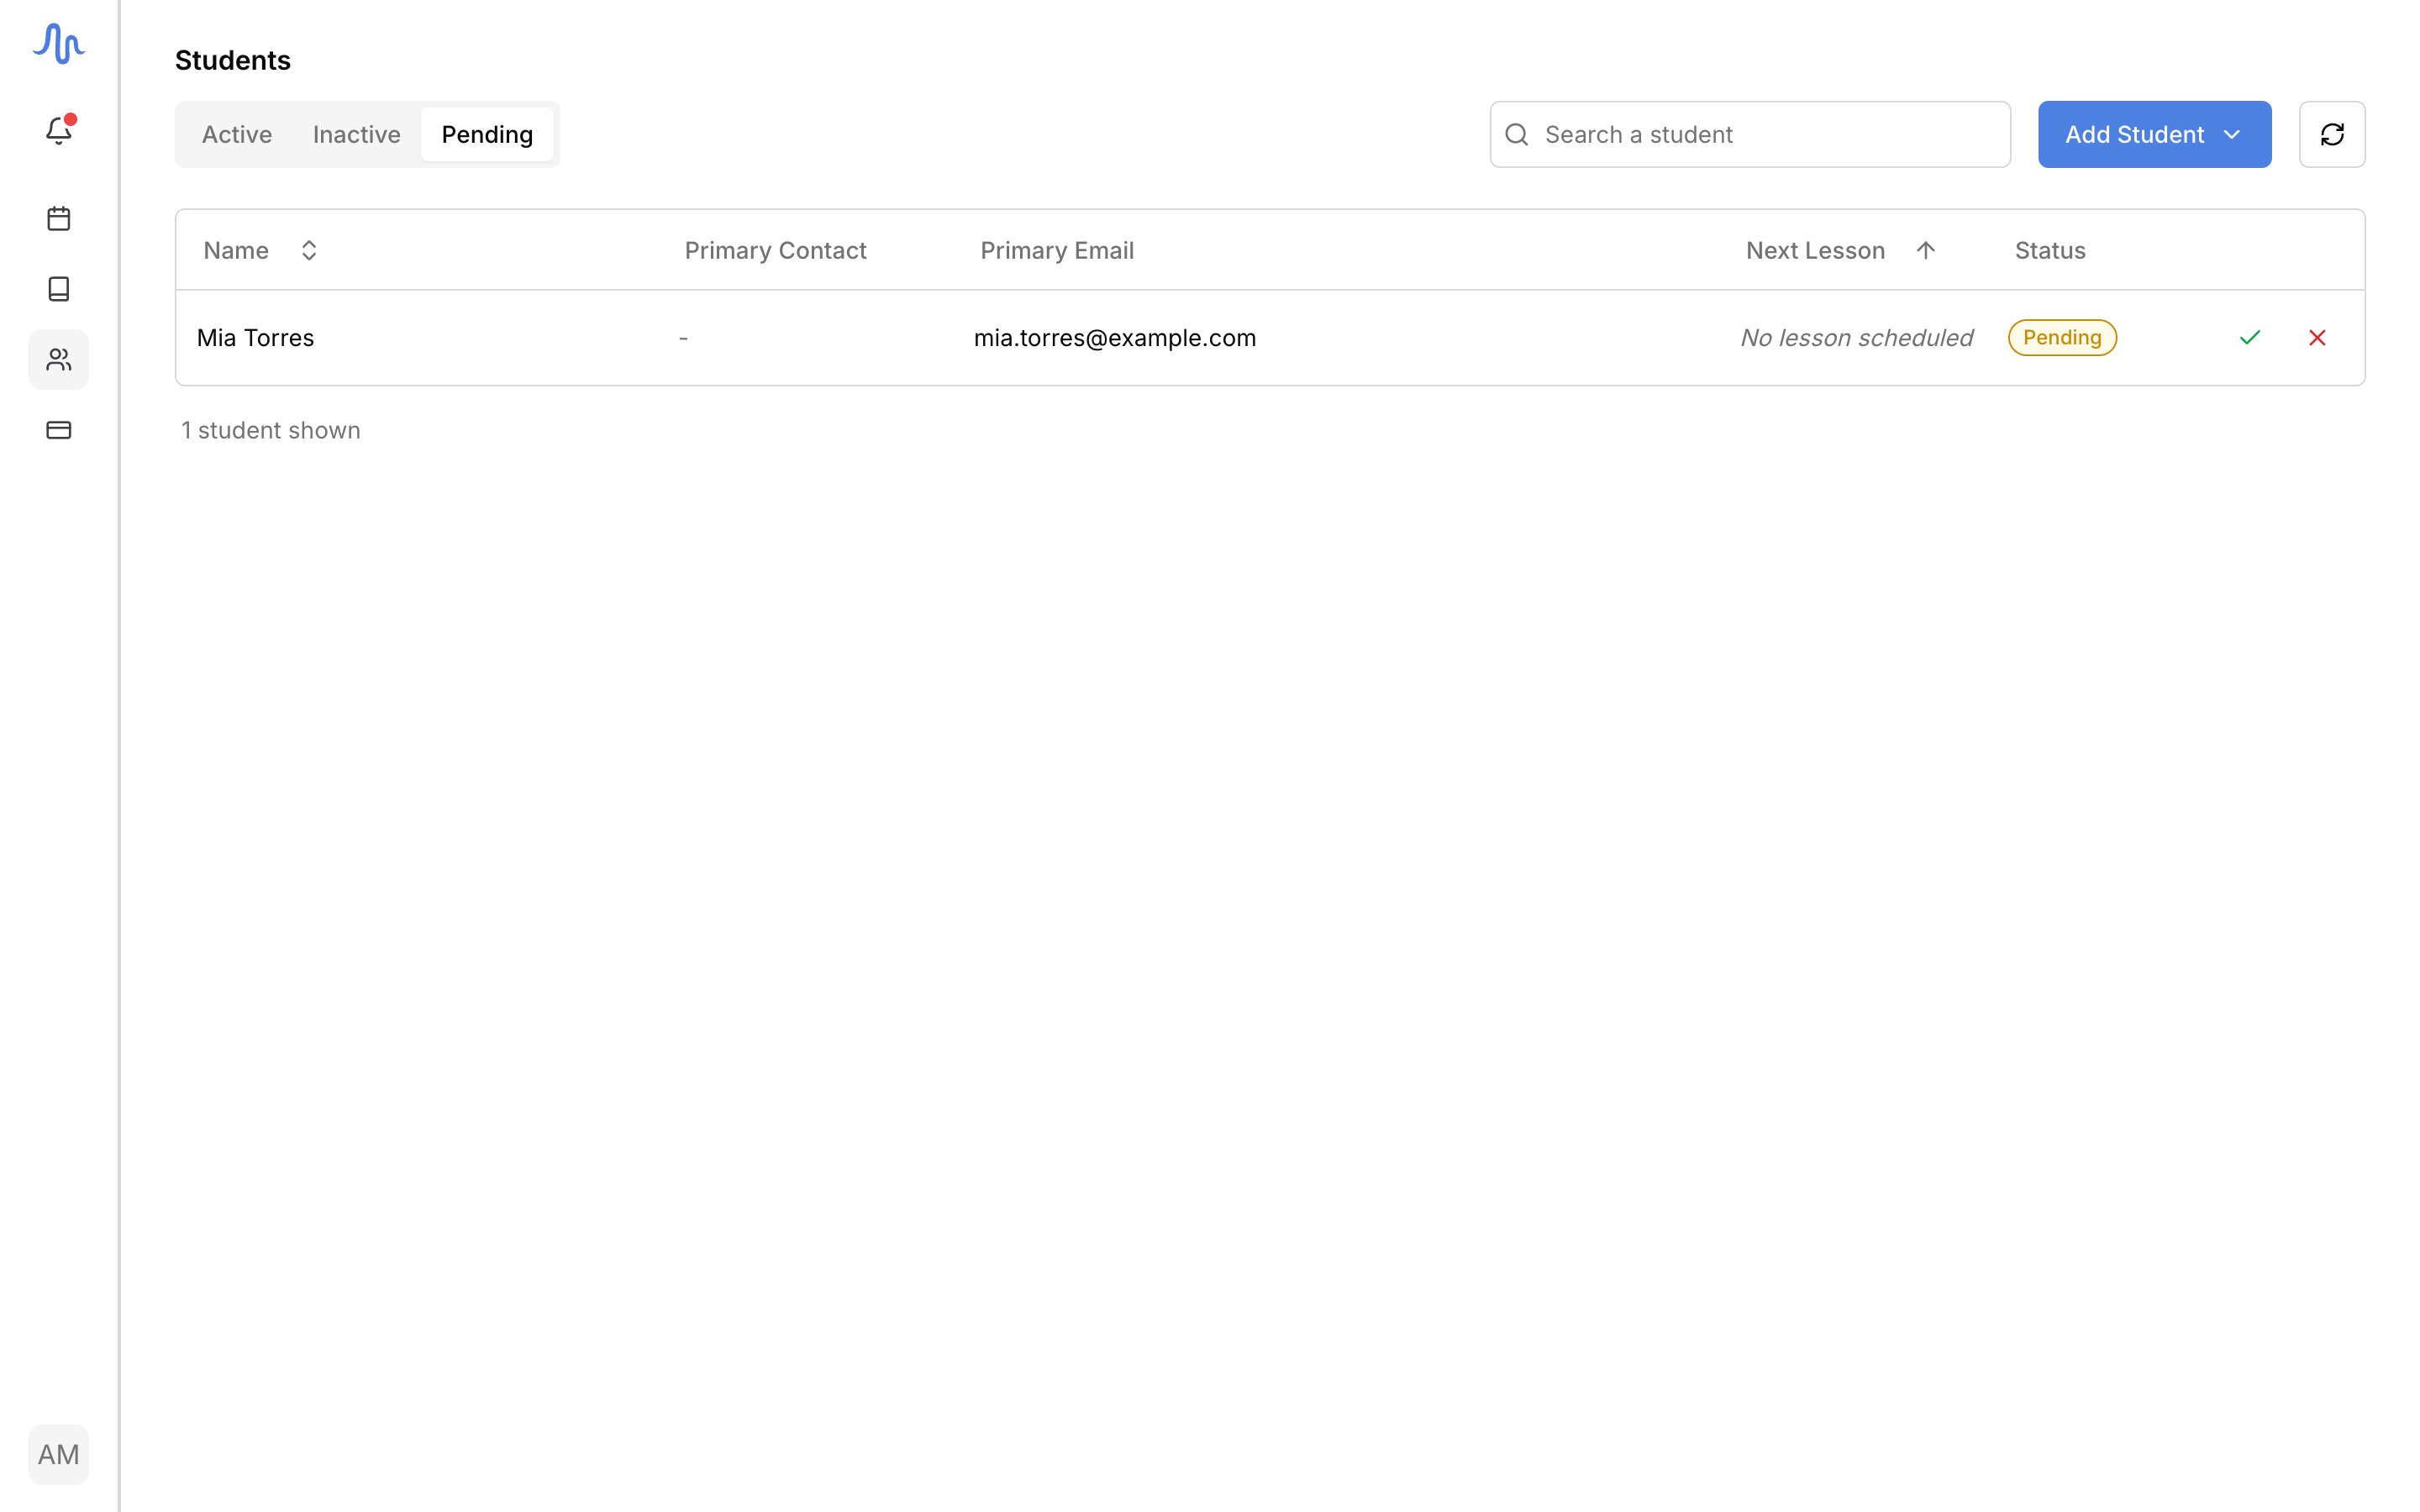
2
Approve to add the student
Click Approve and confirm. The student starts out Inactive because
they have no lesson yet; add them to one and they become active.
3
Reject to discard a submission
Click Reject and confirm to remove the submission. This can’t be undone.
Approving a student counts toward the Hobby plan’s 5-student cap. At the limit, approval is blocked until you free a slot or upgrade. See Plans and limits.
FAQ
Can I add a student myself instead?
Can I add a student myself instead?
Yes. Skip the link and enter the details by hand. See Add a student.
Why is there a policy agreement on my form?
Why is there a policy agreement on my form?
When you have a published studio policy, the form ends with a required agreement checkbox. Students can’t submit until they accept it.